SECTION 13: MAIN SPAR: Difference between revisions
Jump to navigation
Jump to search
mNo edit summary |
|||
| Line 12: | Line 12: | ||
**Some builders indicate that the rivets are included in the SB kits. | **Some builders indicate that the rivets are included in the SB kits. | ||
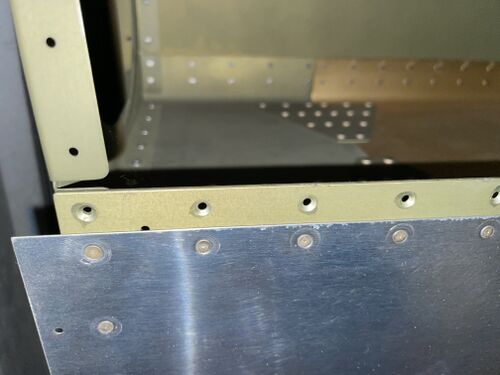
* Step 6, check this [https://www.facebook.com/groups/vansrv10/posts/6740359736085068 FB thread] on the tie down bracket and a potential gap between the skin and the bracket. | * Step 6, check this [https://www.facebook.com/groups/vansrv10/posts/6740359736085068 FB thread] on the tie down bracket and a potential gap between the skin and the bracket. | ||
[[Category:Hints]] | |||
Revision as of 10:34, 23 November 2023
Build Instruction Updates
- N/A
Check for more recent updates here
Page 13-2
- Figure 1 shows an "extra" hole on the flange. It is not used anywhere, does not need countersinking.
- Step 7: Study figure 2 which points out that the long stiffeners align at the outboard end while the short stiffeners align at the inboard end.
- Step 8: See this FB thread regarding how to manage the imperfect overlay of the long and short stiffener.

Page 13-4
- Step 4 has you installing AN426AD4-6 rivets, but the rivets are not part of the SB kit (as of 3/2022).
- Some builders indicate that the rivets are included in the SB kits.
- Step 6, check this FB thread on the tie down bracket and a potential gap between the skin and the bracket.